Using Windows Error Reporting to Collect Crash Dumps of the Backup Components
Situation
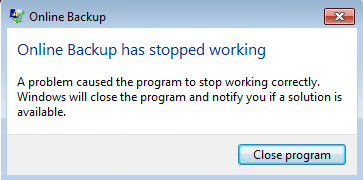
In some situations, a component of the MSP360 Backup application might crash. Below, for example, you can see an error pop-up indicating that the graphical user interface (GUI) of the Backup application has crashed:
Cause
Reasons for the crashes could vary from insufficient system resources (overloaded CPU / RAM) to antivirus interventions to specific bugs. For us to properly investigate the causes of such issues it would be necessary to look into the crash dumps of failed processes (using them as a vertical slice of the problem).
In this article, we describe how to configure the Windows Error Reporting to automatically create crash dumps of the process(es) that experience reproducible crashes.
Solution
First, please identify the failing component of the application with an MSP360 support engineer (for example the “CBBackupPlan.exe” for crashing backup or restore plan, the “Online Backup.exe” or a similar but rebranded executable file for crashing GUI, etc.).
Enter “regedit” into the Windows search bar and open the registry editor with administrator privileges.
Navigate to the key “HKEY_LOCAL_MACHINE\SOFTWARE\Microsoft\Windows\Windows Error Reporting”.
Under the “Windows Error Reporting” key locate a “LocalDumps” key or create it if it’s not present (using a contextual menu).
Under the “LocalDumps” key create a new key named exactly after the crashing process. For example, “CBBackupPlan.exe”.
Select the newly created key and open a contextual menu on the right side of the Registry Editor window.
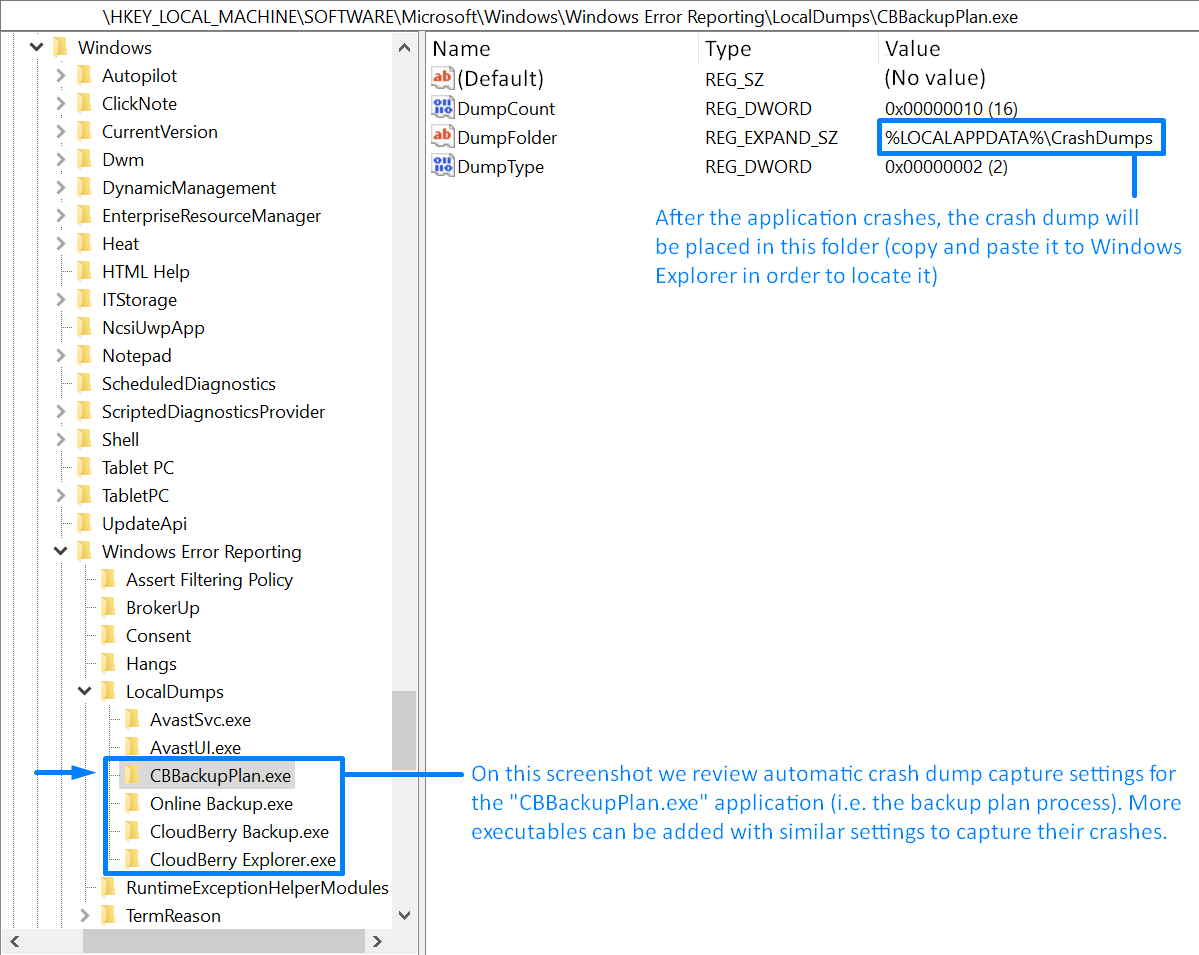
Select “New”, then “Expandable String Value”. Name the value as “DumpFolder” and save it. After that, double-click it and assign it with a value “%LOCALAPPDATA%\CrashDumps”, then save again. This value defines where the crash dumps are going to be stored.
Select “New”, then “DWORD (32-bit) value”. Name the value as “DumpCount” and save it. After that, double-click it and assign it with a value “10”, then save again. This value defines how many crash dumps are going to be stored in the designated folder.
Select “New”, then “DWORD (32-bit) value”. Name the value as “DumpType” and save it. After that, double-click it and assign it with a value “2”, then save again. This value states that only full process dumps are going to be collected.
After you finish, the new registry records should look similar to this:
Close the registry editor, restart the machine so that the changes take effect, and reproduce the issue one or several times (depending on the MSP360 support engineer directions).
Locate the collected crash dumps and provide them to your support case by uploading the “.DMP” files to cloud storage of your choice and generate a download URL.
For more information on the Windows Error Reporting toolset, please refer to the official Microsoft documentation here.