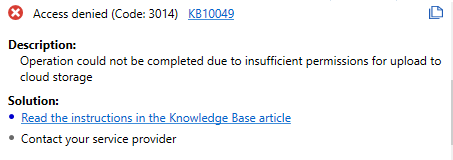
Access Denied (code 3014)
Applies to: Backup Agent, AWS S3 backup storage
Situation
A backup plan terminates with the following error: Access Denied. Cannot complete the operation due to insufficient permissions on cloud storage
Cause
Most probably, your AWS IAM user does not have enough permissions to access your storage.
Solution
It is strongly recommended to switch to IAM Role authentication in AWS. This authentication method will ensure no permission issues occur in the future.
In all permission related problems, using the IAM Role (MBS wizard) option is recommended
Create IAM Role Using Management Console
- Open the Management Console.
- In the Storage menu, select Storage Accounts.
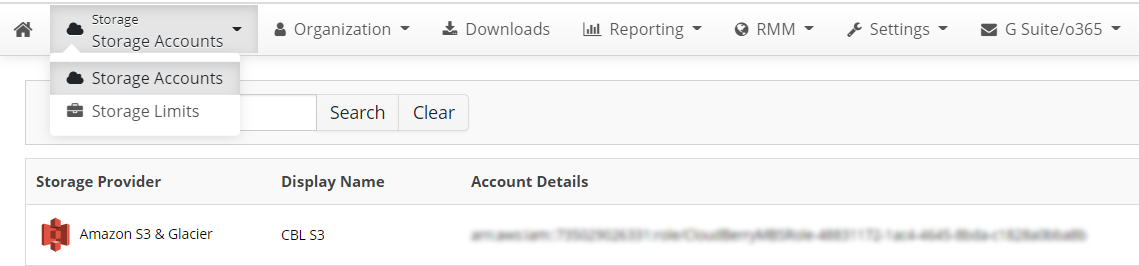
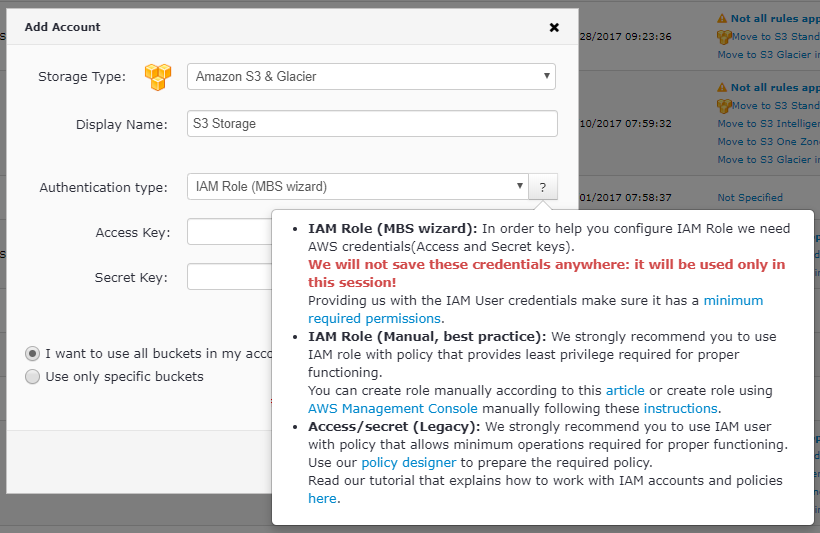
- Click Add Account, then select Amazon S3.
- Specify the desired display name. For the Authentication type, select IAM Role.
- Now enter the Access and Secret keys. These will only be used for the policy creation session and will not be stored in any of the MSP360 databases.
- Proceed to specify the required buckets: either all of them or select the required ones. Click Save.
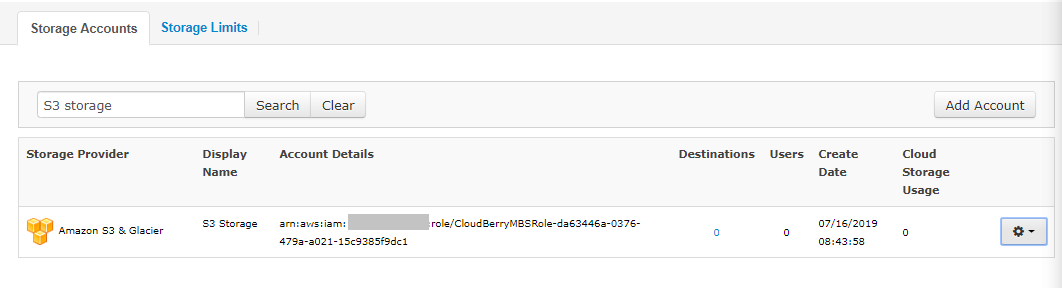
The IAM Role account will be automatically created. You find it in the list of storage Accounts:
Create IAM Role in AWS Console
Alternatively, you can create a role via AWS Console and afterward enter the IAM Role identifier in the Add Account dialog in the Management Console for Managed Backup Service.
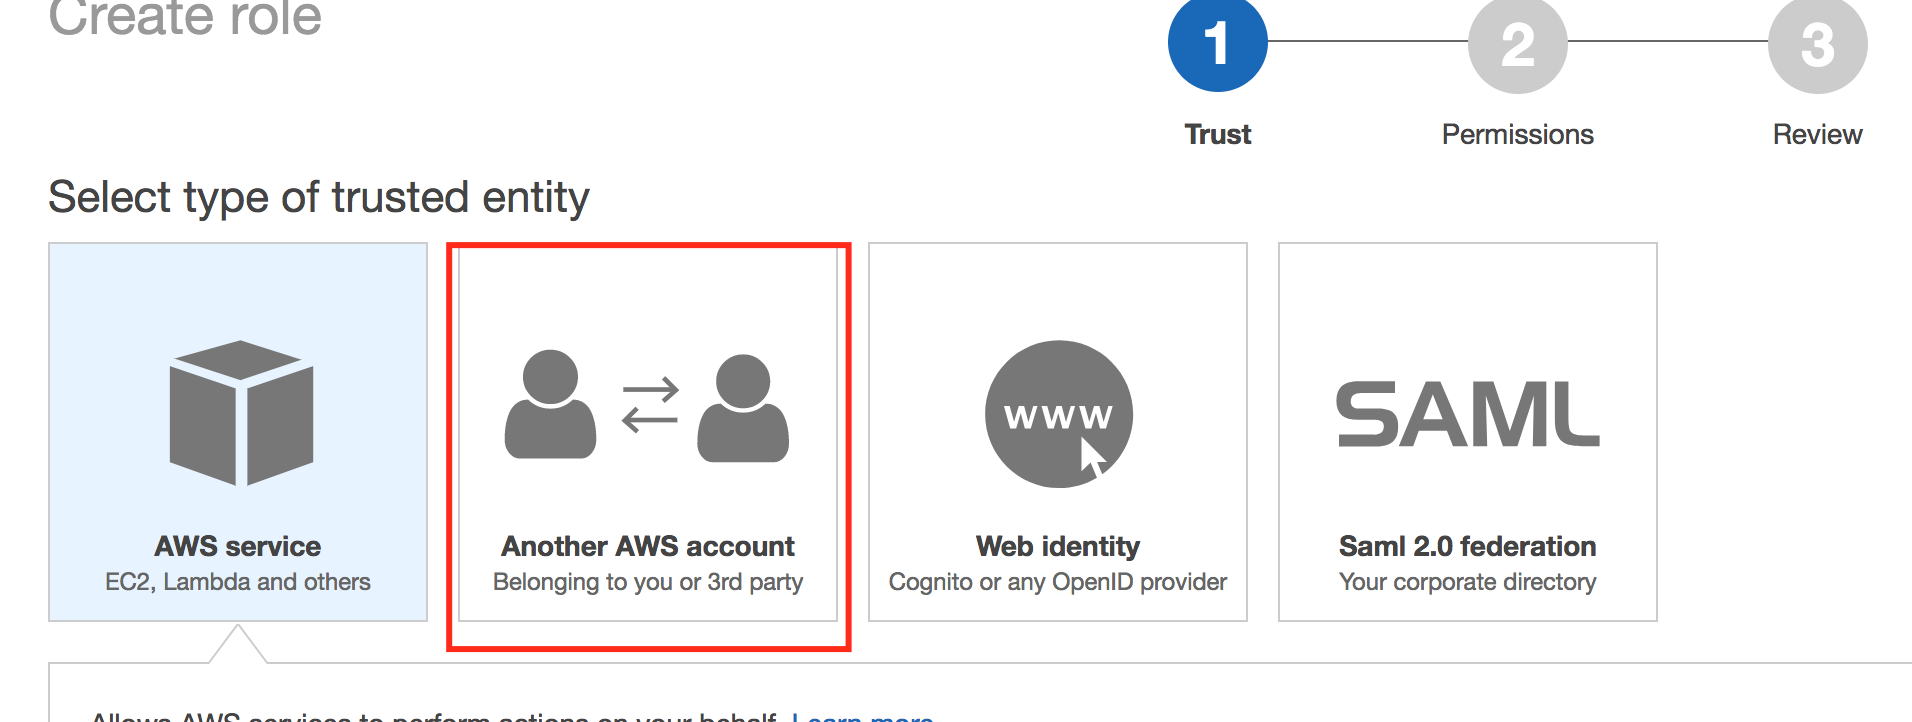
- Go to the AWS console{:target="_top"} to add a role. Click Create Role.
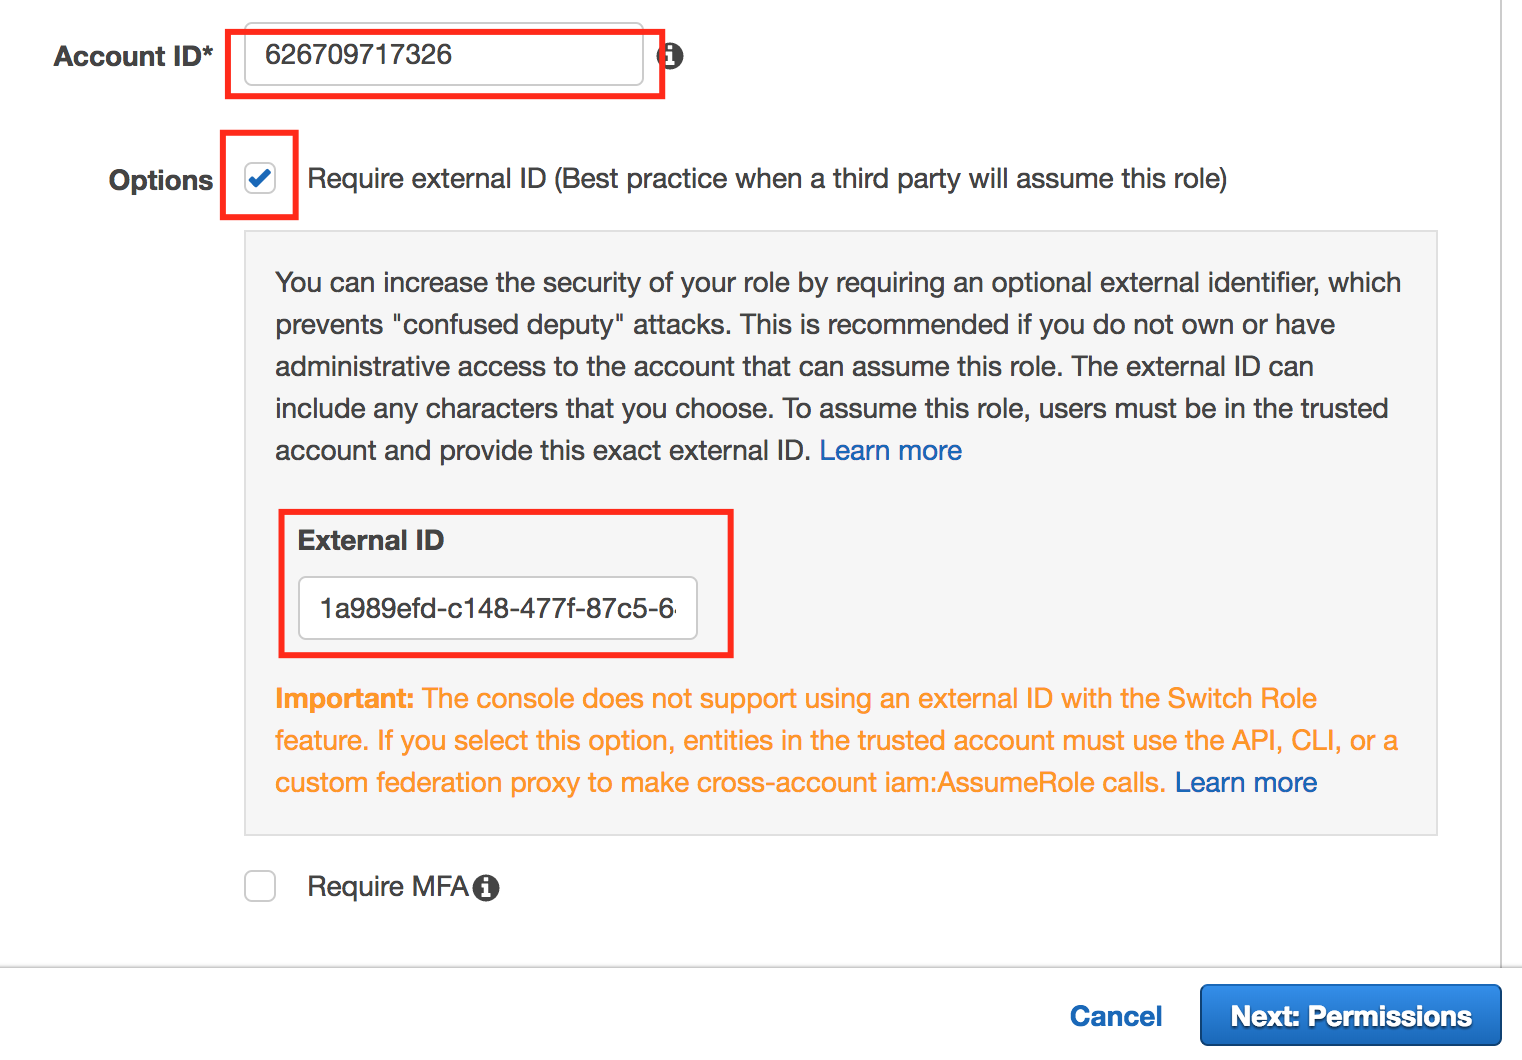
- Enter 626709717326 in the account ID info.
- Select the Require external ID (Best practice when a third party will assume this role) check box.
- Paste the Provider ID into the External ID text field. Click Next: Permissions.
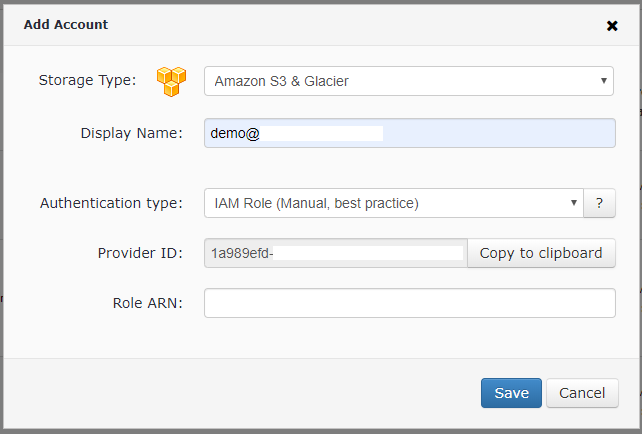
- To get the Provider ID, go to the Management Console, select Storage Accounts then click Add Storage and select Amazon S3 with Authentication type "IAM Role (Manual, best practice)":
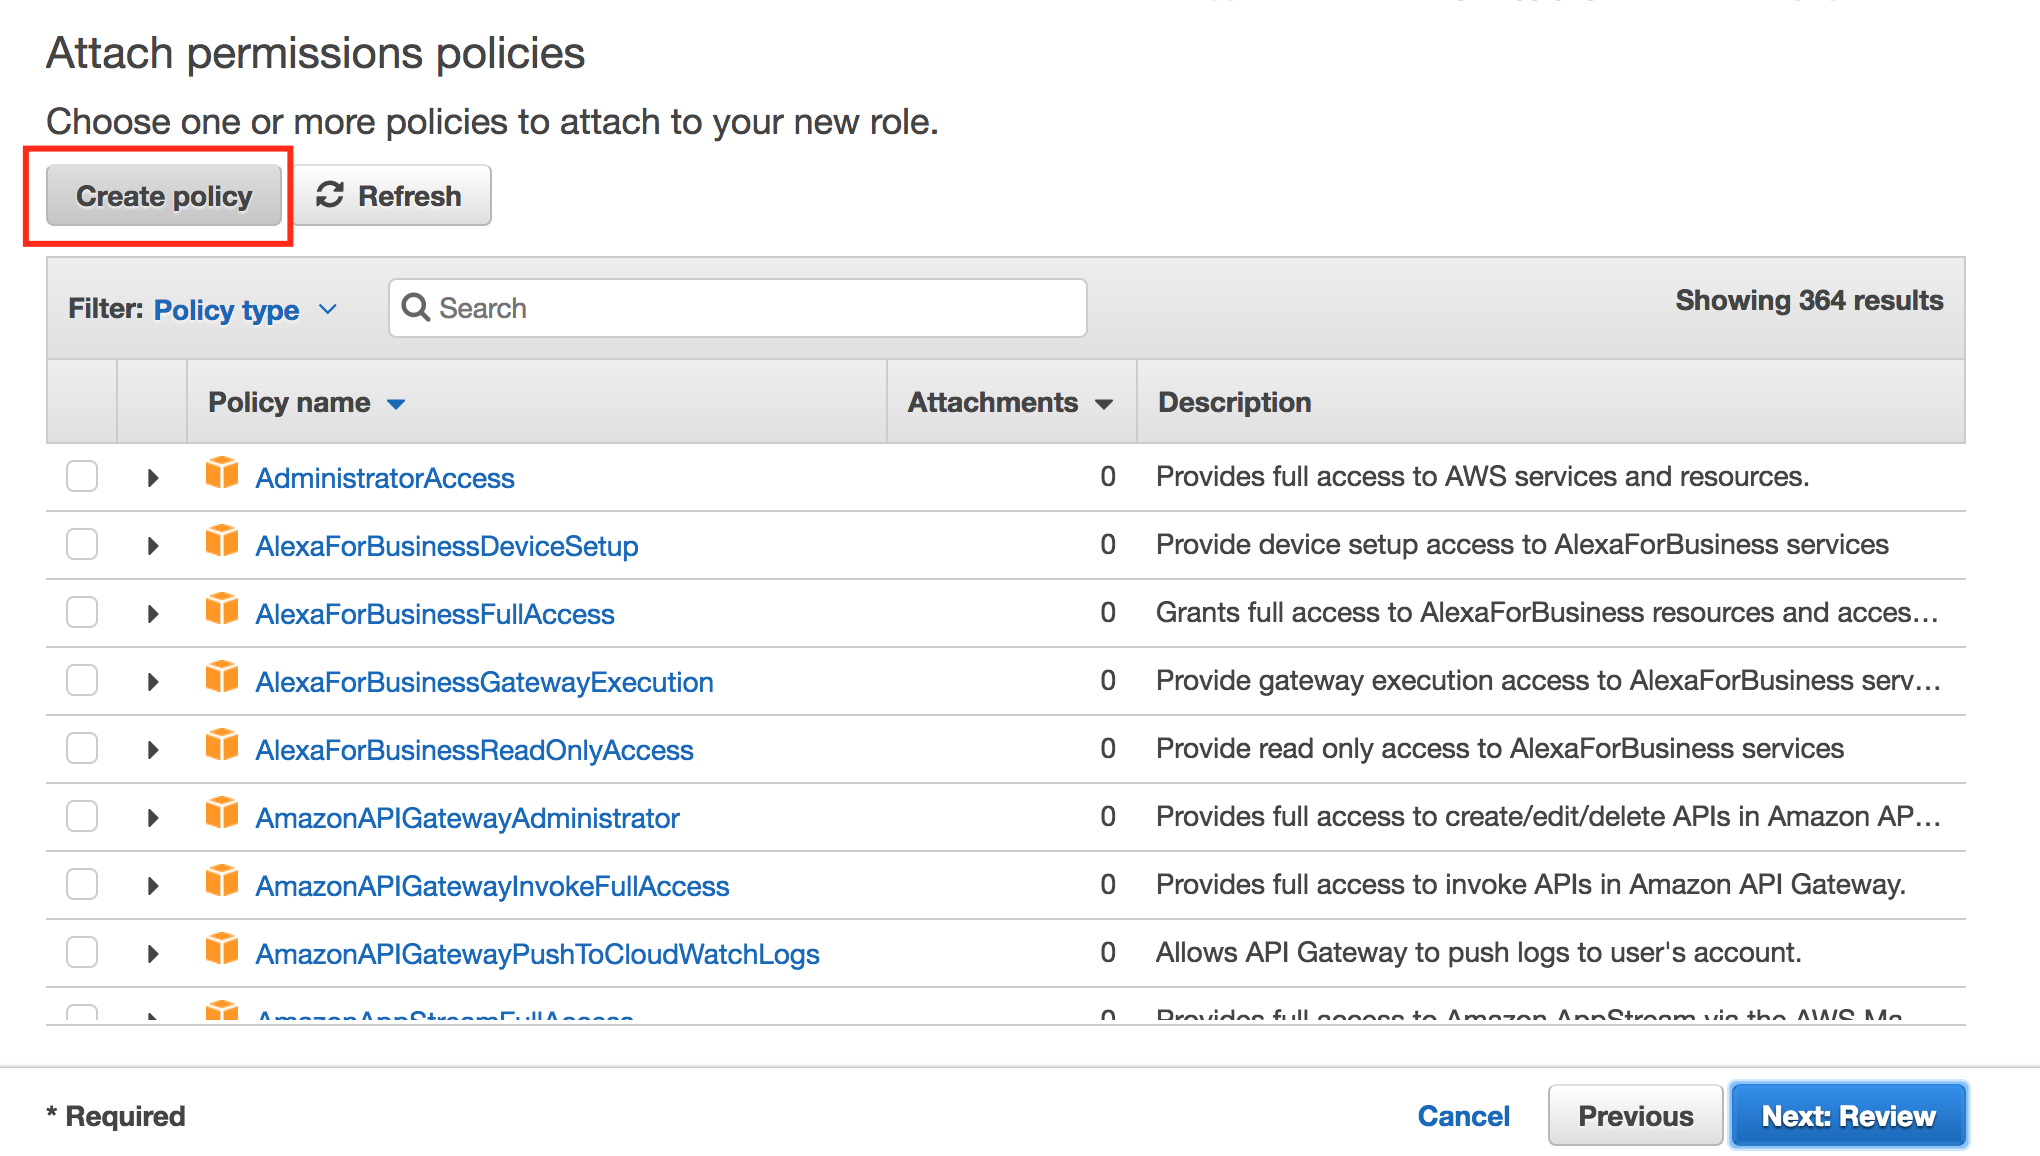
- Click Create Policy.
- Click JSON and insert the following policy:
{
"Version": "2012-10-17",
"Statement": [
{
"Effect": "Deny",
"Action": "s3:DeleteBucket",
"Resource": "*",
"Condition": {}
},
{
"Effect": "Allow",
"Action": "s3:*",
"Resource": "*",
"Condition": {}
},
{
"Effect": "Allow",
"Action": "iam:SimulatePrincipalPolicy",
"Resource": "*",
"Condition": {}
},
{
"Effect": "Allow",
"Action": "s3:ListAllMyBuckets",
"Resource": "*",
"Condition": {}
},
{
"Effect": "Allow",
"Action": "ses:*",
"Resource": "*",
"Condition": {}
},
{
"Effect": "Allow",
"Action": "sns:*",
"Resource": "*",
"Condition": {}
},
{
"Effect": "Allow",
"Action": [
"ec2:ImportInstance",
"ec2:ImportImage",
"ec2:DescribeInstances",
"ec2:MonitorInstances",
"ec2:RequestSpotInstances",
"ec2:RunInstances",
"ec2:StartInstances",
"ec2:TerminateInstances",
"ec2:ModifyInstanceAttribute",
"ec2:CreateTags",
"ec2:CancelImportTask",
"ec2:DescribeConversionTasks",
"ec2:DescribeImportImageTasks",
"ec2:ImportVolume",
"ec2:DescribeAvailabilityZones",
"ec2:DescribeSecurityGroups",
"ec2:DescribeSubnets",
"ec2:StopInstances",
"ec2:DescribeKeyPairs",
"ec2:DescribeImages",
"ec2:ImportSnapshot",
"ec2:DescribeImportSnapshotTasks",
"ec2:CreateVolume",
"ec2:CreateImage",
"ec2:DescribeVolumes",
"ec2:DescribeSnapshots",
"ec2:DeleteSnapshot",
"ec2:CreateSnapshot",
"ec2:AttachVolume",
"ec2:DeregisterImage"
],
"Resource": "*",
"Condition": {}
}
]
}
- Review the policy settings, then click Create Policy.
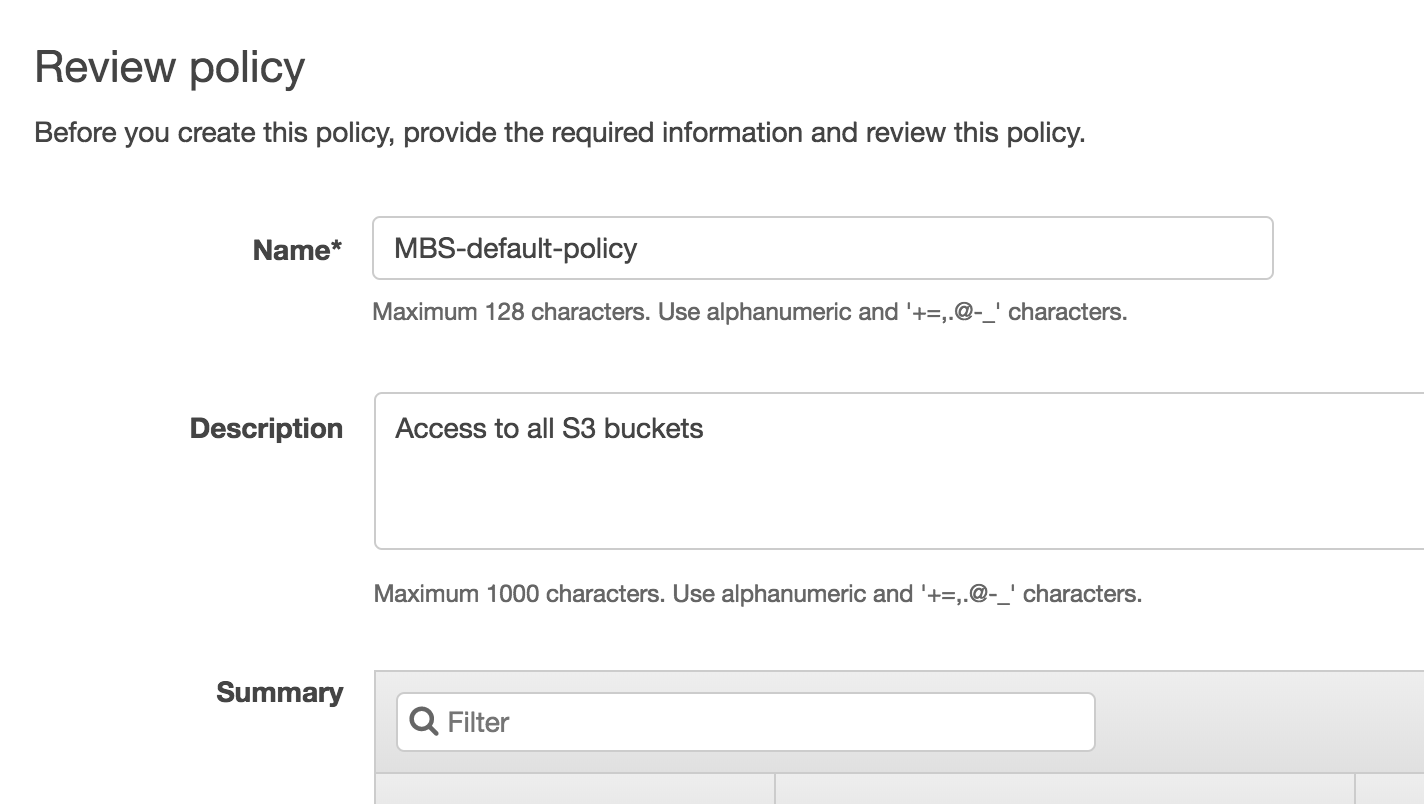
- Go to the previous tab, then click Refresh and type the policy name that you created:
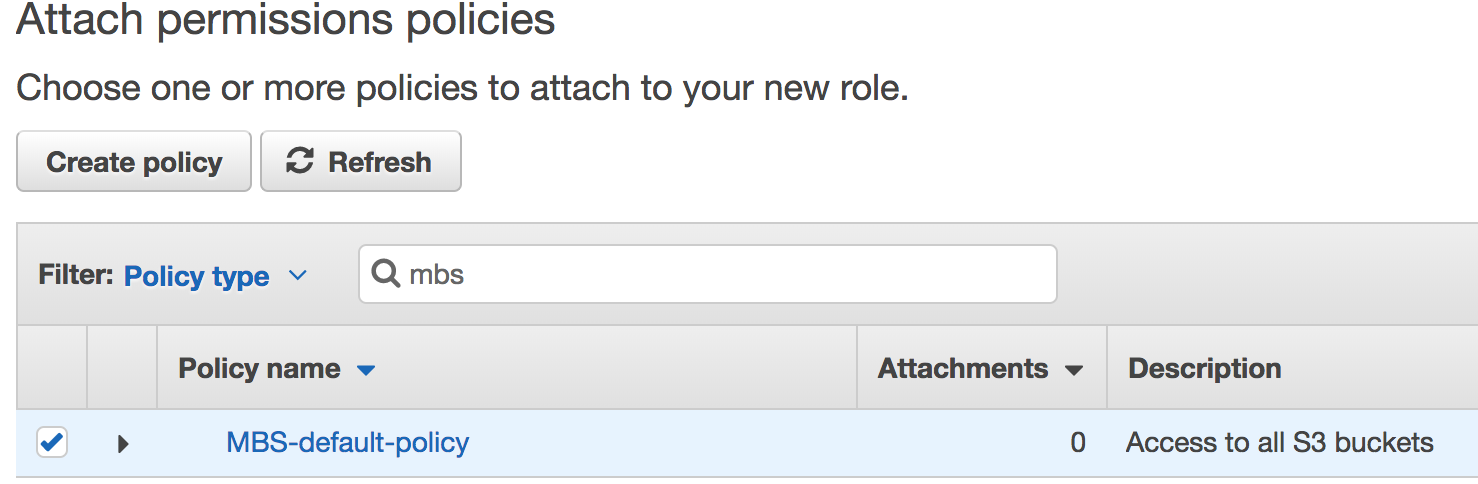
- Select it and click Review.
- Specify the role name (no spaces), then click Create.
- Open the role you created and copy its ARN.
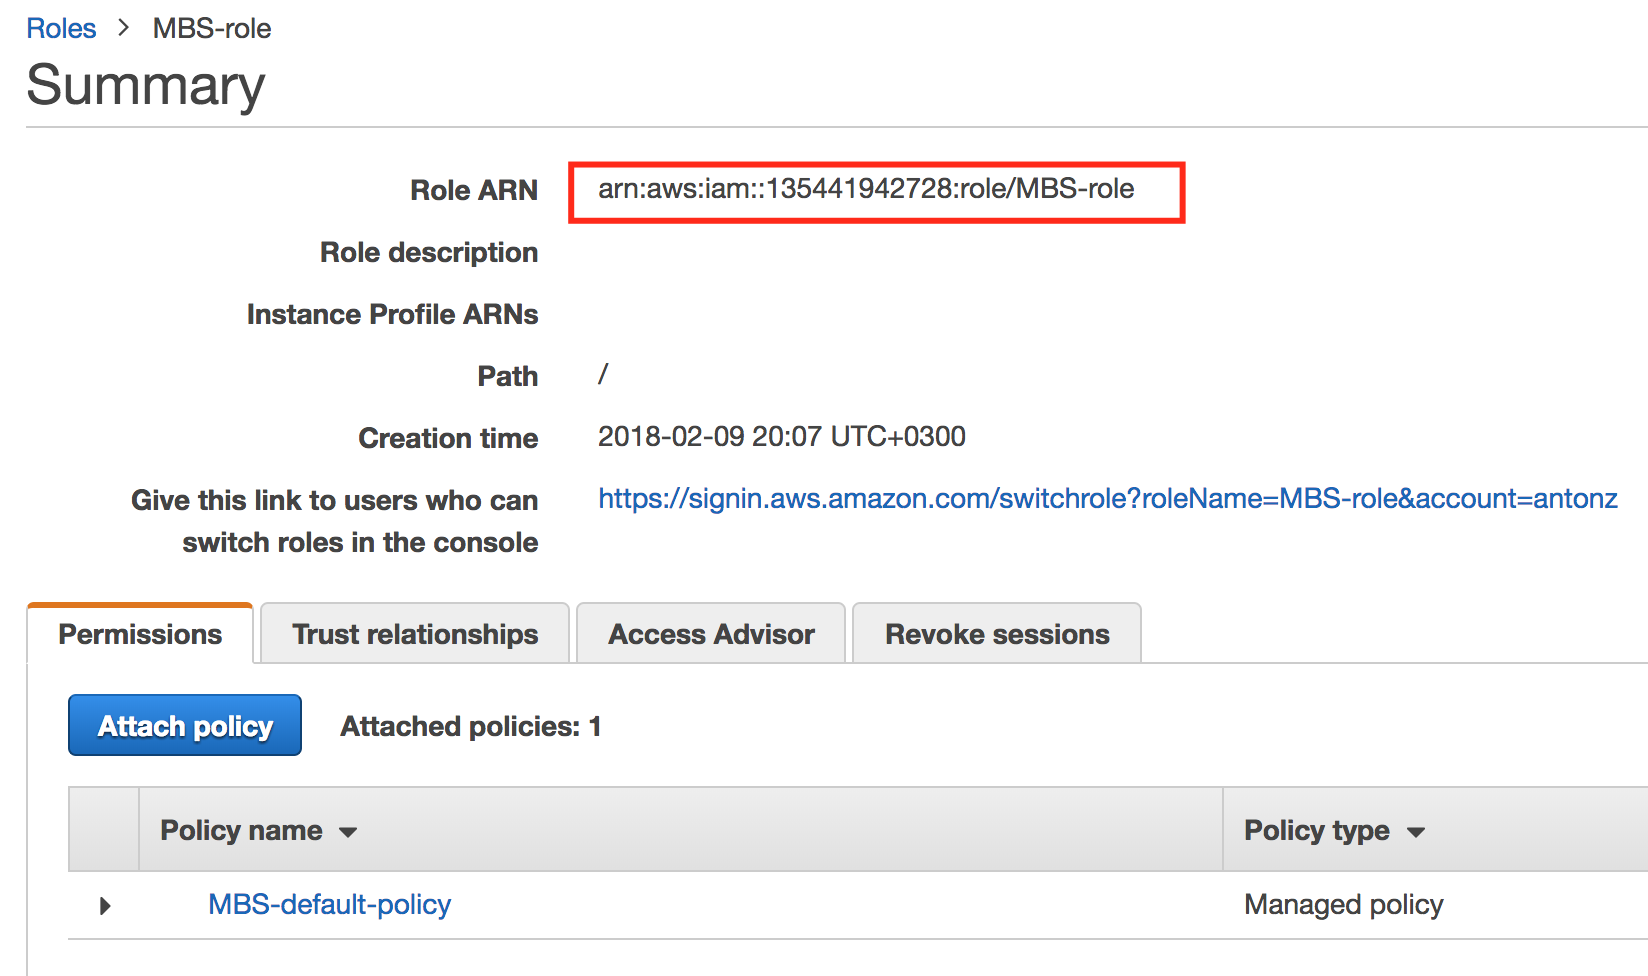
- Go back to the Managed Backup Management Console, then paste the ARN into the bottom field.
- On the next step you can select S3 buckets that will contain the backup data.