Granular Backup For Monthly, Weekly and Daily Copies of Data On The Cloud Storage
Some of our customers need to keep yearly, monthly and weekly backups that can be restored at any moment. We call it granular backup. Keeping backup data for a period of time might be a part of your corporative policy due to security or compliance reasons. Using scheduling and purge features you can set up a backup to run with the needed periodicity. With purge feature you can set up conditions for data deletion - Age of version and Number of versions options allow to regulate age and number of file versions to keep or to delete.
##Preparations for Granular Backup
Before you proceed with the following manual, you need to create a few buckets (containers, vaults, etc.) within your cloud storage account. The number of buckets should be one per each time period you want - year, month, week, day, etc. For example, if you need to keep yearly and daily backups you will need two buckets. If you want to keep yearly, monthly, weekly and daily backups you will require four buckets.
Note: further in the article, we will use Amazon S3 as an example of a cloud storage service. Your cloud storage service might have different UI or feature naming
There are two ways how you can create a new bucket:
- Manually in your cloud storage account.
Log in to your cloud storage account and create buckets.
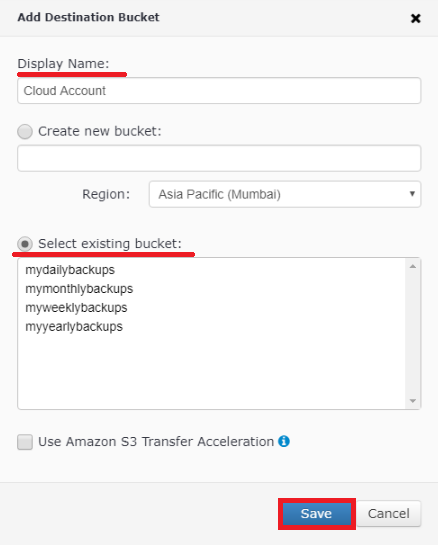
Once all buckets are created you can find them while adding the storage accounts in your MBS portal among the already existing buckets.
- Through your MBS portal.
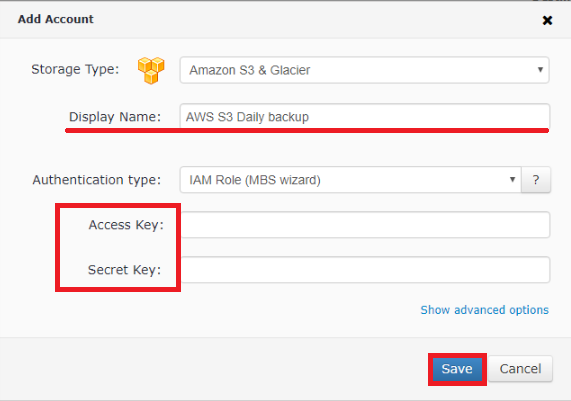
Log in to you MBS account. Under Storage > Storage accounts tab hit the “Add account” button. The first step requires specifying your cloud storage account credentials.
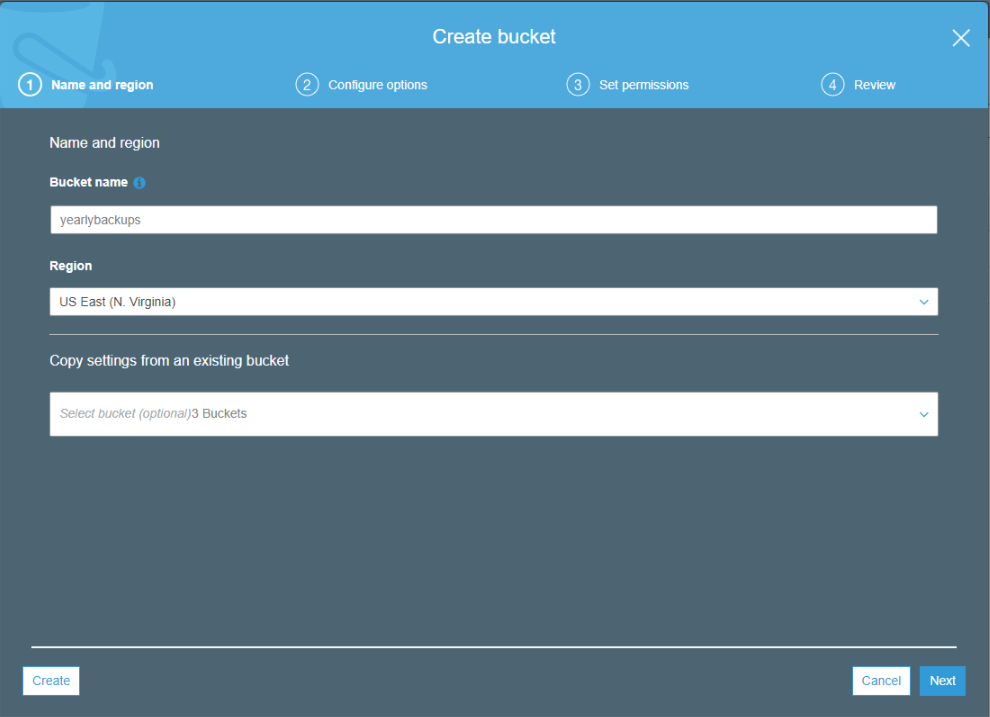
And the second step will bring you the option “Create new bucket”. Don’t forget to choose the right Region for your bucket.
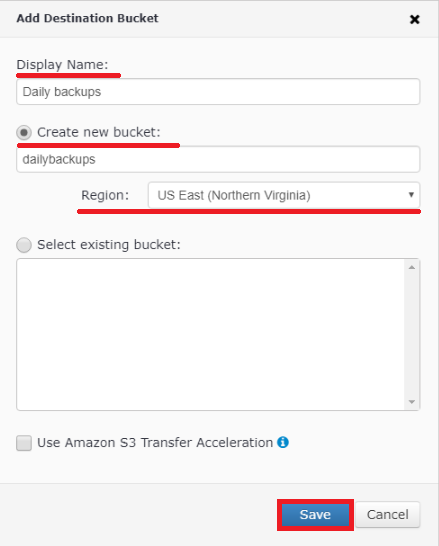
Repeat this action several times since you need creating different buckets. Each time specify the same cloud storage account credentials but set another bucket name. Once you’ve finished creating the buckets and adding accounts it’s time to proceed with configuring the backup plans for each of them.
Creating Backup Plans For The Granular Backup
Specifying scheduling and purge options is enough for almost any backup, but when you need to keep long-term backups and short-term backups in one Amazon S3 account you may face some issues. For example, you won’t be able to set purge to keep only the yearly version of the file while being able to delete the weekly version of the same file. Also, you may have too many copies of one file that will lead to unnecessary expenses.
Best practice:
- for the daily backup set weekly purge
- for weekly backup - purge each 1 month
- for monthly backup - purge every 1 year
- for yearly backup - a minimum of 2 years and up to your requirements
Creating Backup Plan For Daily Backup
- Start the application console and click on the “Files” to launch the Backup wizard.

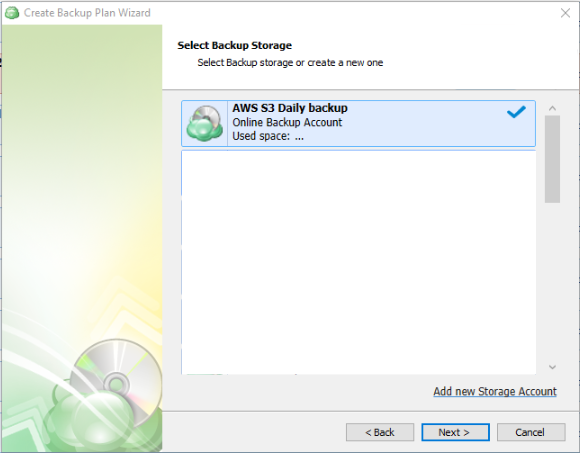
- Select one of the previously created storage accounts.
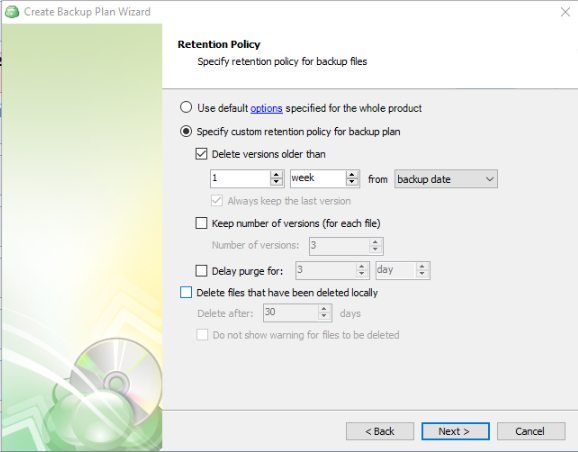
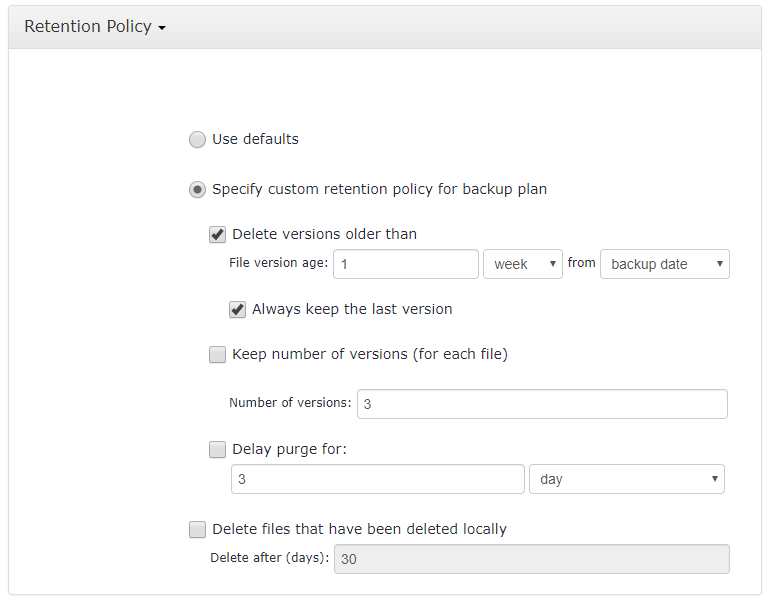
- Proceed to the “Retention policy” step and set up purge options. All the previous steps could be configuring upon your requirements.
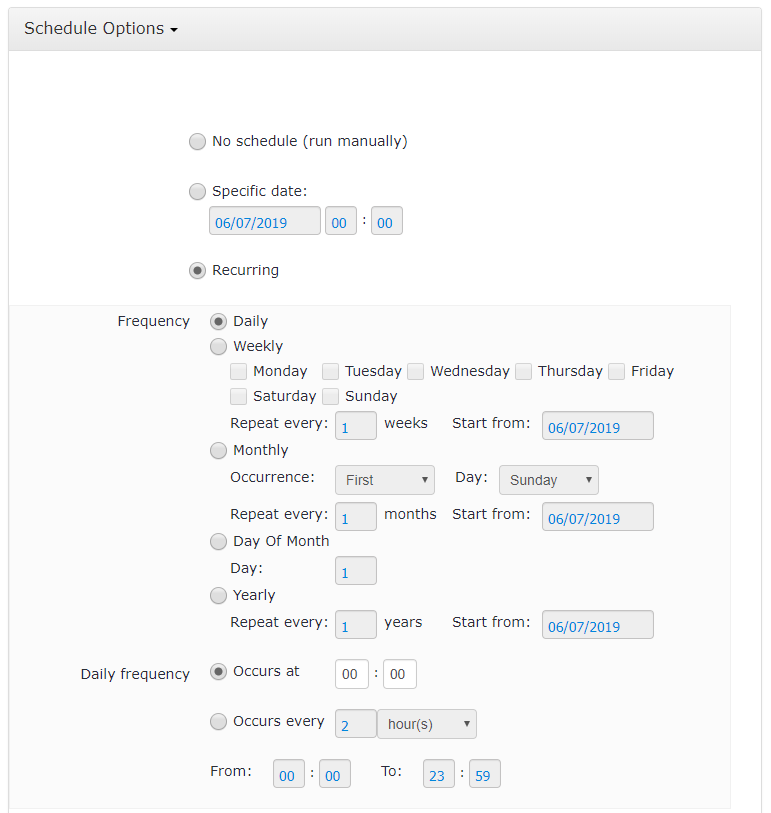
- On the “Schedule” step check the “Recurring” radio button.
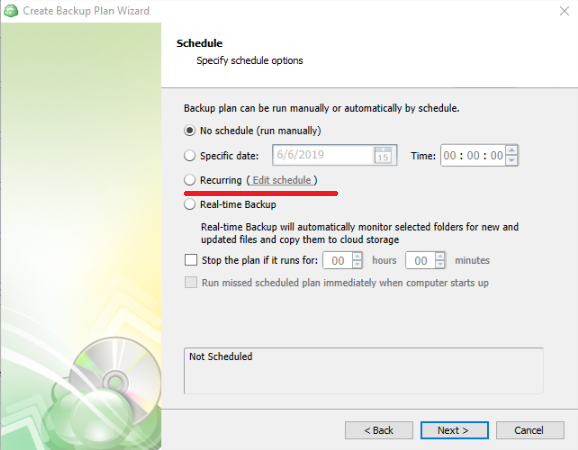
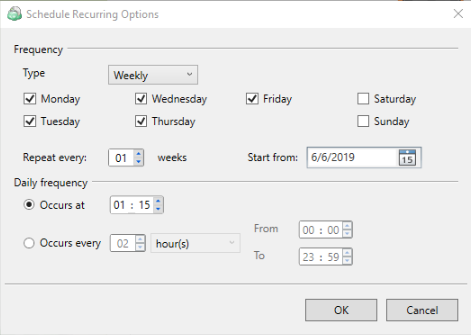
- Select a backup schedule using the “Type” drop-down list. Specify other options of recurring backup. Click “OK”.
Further backup plan configuration depends on your business requirements. Proceed and finish the backup plan creation.
Once you finished creating this backup plan repeat all the actions listed above (from step 1 to step 6) to create the backup plans for all time periods you need each time using another storage account. Specify appropriate purge and scheduling options.
Repeat these actions until you have backup plans with correct scheduling and purge specifications for all the time periods you require. You will gain availability for granular backup recovery to specified periods in time. Your backups will be kept in different buckets of the same storage account in safety and will not be affected by one another.
Creating Remote Deploy Configuration
Use remote deploy for configurations to automatically roll out your backup plans on several computers. Remote deploy allows creating a configuration with preconfigured backup plans and settings.
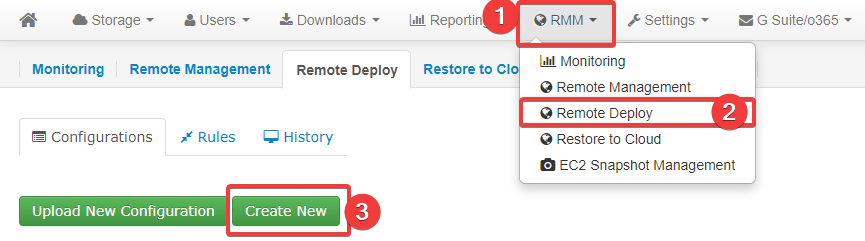
- Log in to your MBS portal. Go to Computers > Remote Deploy and click on "Create new" button
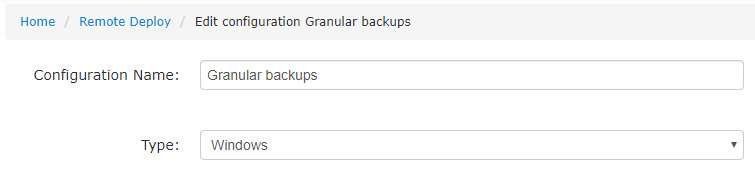
- Specify a configuration name and operating system type.
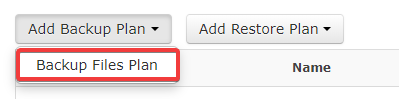
- Click "Add Backup Plan" -> "Backup Files Plan".
- Specify a backup plan name.

- Specify a backup source and the exclusions.

- Proceed to the "Retention policy" step and set up purge options. All the previous steps could be configuring upon your requirements.
- Set schedule options.
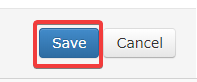
- Complete the rest of the options and click "Save" button.
- Repeat steps 3 - 8 to create the backup plans for all time periods you need each time using another storage account. Specify appropriate purge and scheduling options.
- Click the "Save" button when all required backup plans are created.
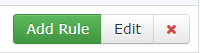
- Once the configuration is saved, click the "Add Rule" button to create a deployment rule.
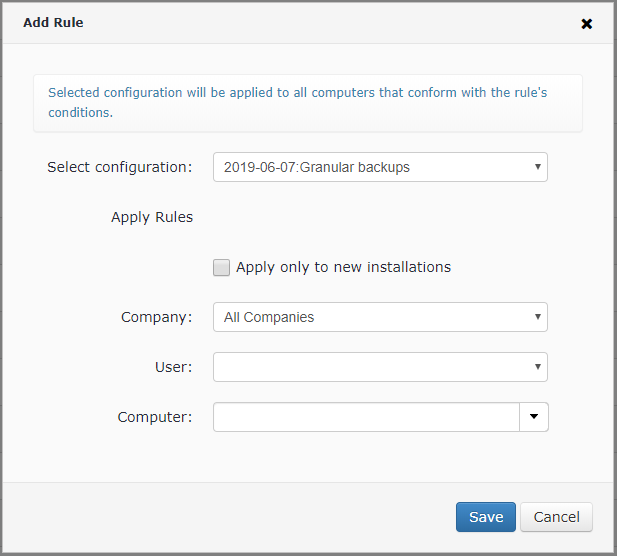
- Select recently created configuration and specify deployment level (Company, User or Computer). Click the "Save" button.
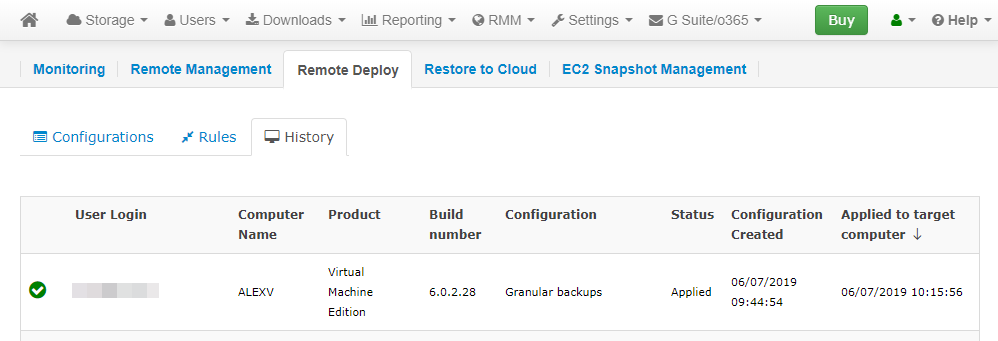
- Check deployment history on the "History" tab.
Contact Us
- Tech questions: support@msp360.com
- Sales questions: sales@msp360.com