Preparing Azure Environment for Virtual Machine Restore
Managed Backup offers restoration features for image-based and virtual machine backups to Microsoft Azure virtual environment.
To do that, your Azure environment must be configured properly. If the following entities: Resource Group, a Storage account, an Azure Virtual Network, a Storage Container, and a Network Security Group are not configured in your profile, follow the steps below before starting restore jobs to Microsoft Azure VM.
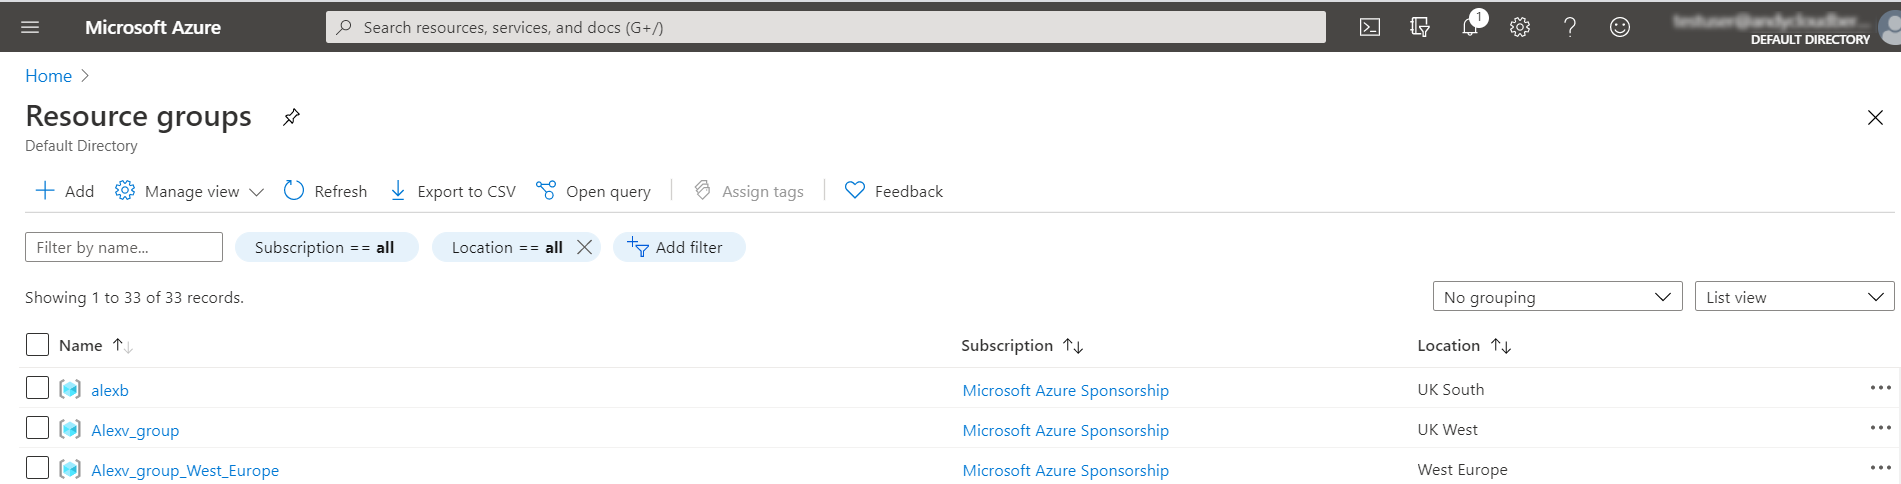
Create a Resource Group
Resource groups enable you to manage all your resources in an application together.
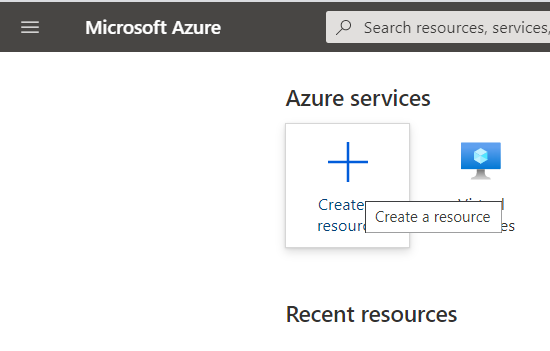
- Open the Azure Portal. Click Create a resource".
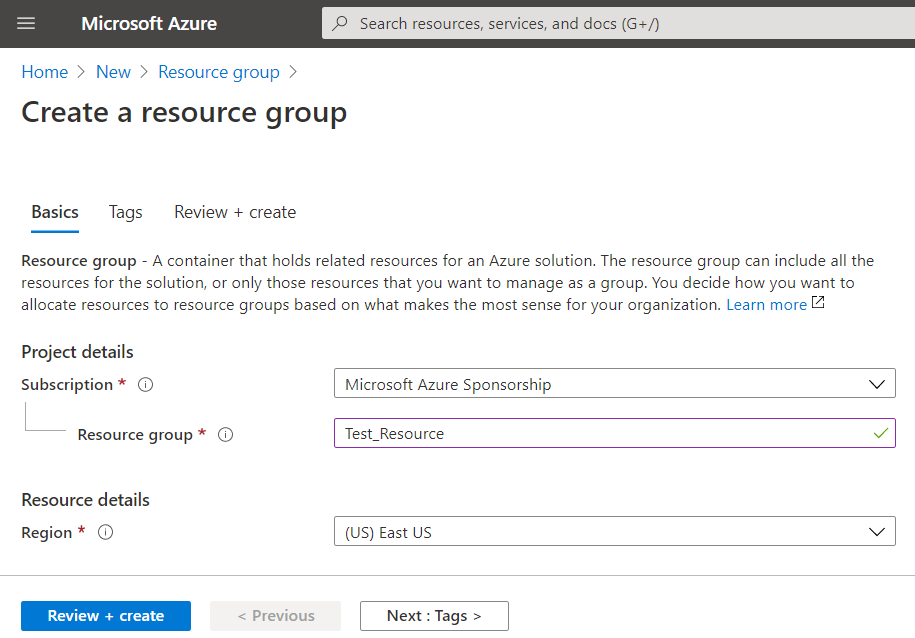
- Find the required Resource Group and select it in the results.
- Click Create.
- Specify the Resource group name. Select subscription and Resource group location.
For a faster upload and download connection, you should select the closest location. You can check the latency location on http://azurespeedtest.azurewebsites.net/.
Create a Storage Account and Container to Store Restored VM Disks
Azure Storage is a service that you can use to store unstructured and partially structured data. IT professionals who deploy Azure virtual machines rely on Azure Storage for storing virtual machine operating system and data disks.
Blobs typically represent unstructured files such as media content, virtual machine disks, backups, or logs. There are three types of blobs.
- block blob is optimized for sequential access, which is ideal for media content
- page blob offers superior random access capabilities, which is only suited for virtual machine disks
- append blob applies to data append operations, without the need to modify existing content. This works best with logging and auditing activities.
Find more information about Azure storage at: https://docs.microsoft.com/en-us/azure/storage/blobs/storage-blobs-introduction
Recommended storage configuration:
VM HDD container:
- Deployment model: Resource manager
- Account Kind: StorageV1 or StorageV2
- Replication: LRS, GRS, RA-GRS
- Performance: Standard or Premium
- Access tear: Hot
Boot diagnostic storage (if required):
- Deployment model: Resource manager
- Account Kind: StorageV1 or StorageV2
- Replication: LRS, GRS, ZRS, RA-GRS
- Performance: Standard
- Access tear: Hot
Create New Storage Account
To create a new Storage Account, proceed as follows:
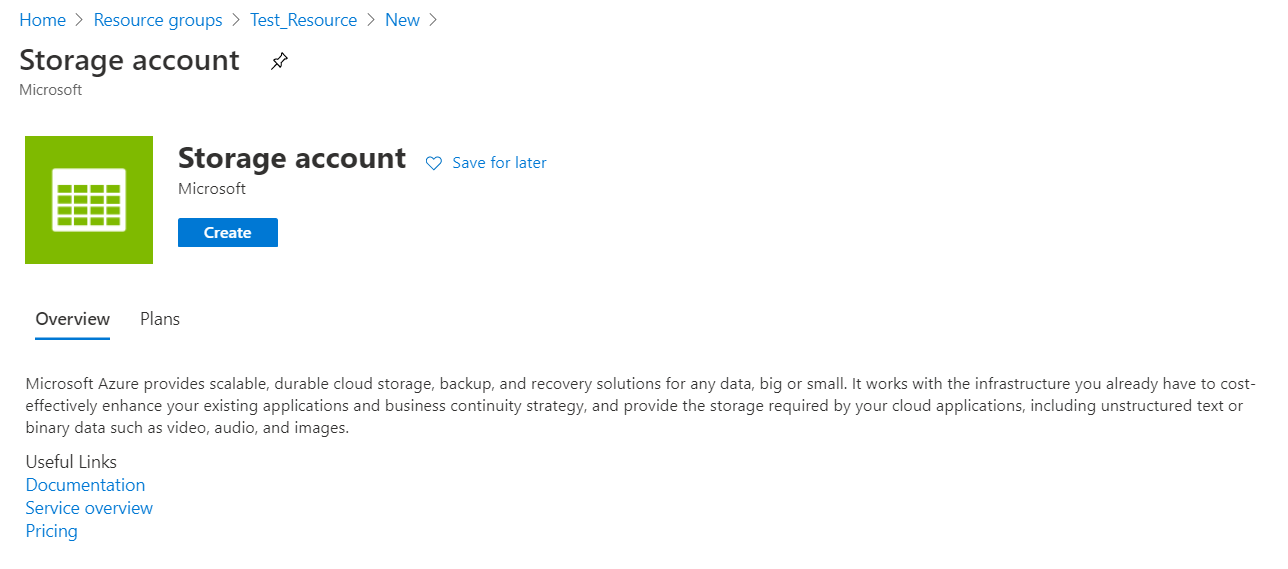
- Open your Resource Group.
- Click +Add.
- Find Storage Account, then click the Create button.
- Specify options according to your requirements and recommended storage configuration. Click Create.
- Next, you need to create a container to store your VM in blobs. A container organizes a set of blobs, similar to a folder in a file system. All blobs reside within this container. A storage account can contain an unlimited number of containers, and a container can store an unlimited number of blobs.
Note that the name of the container must be in lowercase
- Open your Resource Group → Your Storage account → Blob Service.
- To add a new container, click +Container.
- Specify the container name and click OK.
Create Virtual Network with Correct Subnet
If you use Static IP addresses in your backed-up Virtual Machine, you should use a similar or the same subnet in the Azure Virtual Network. In this case, you will able to connect to your restored VM through the Internet.
Please note that Azure reserves the first three IP addresses in a subnet for internal usage.
- Open the required Resource Group.
- Click the +Add button.
- Find Virtual Network, then click Create.
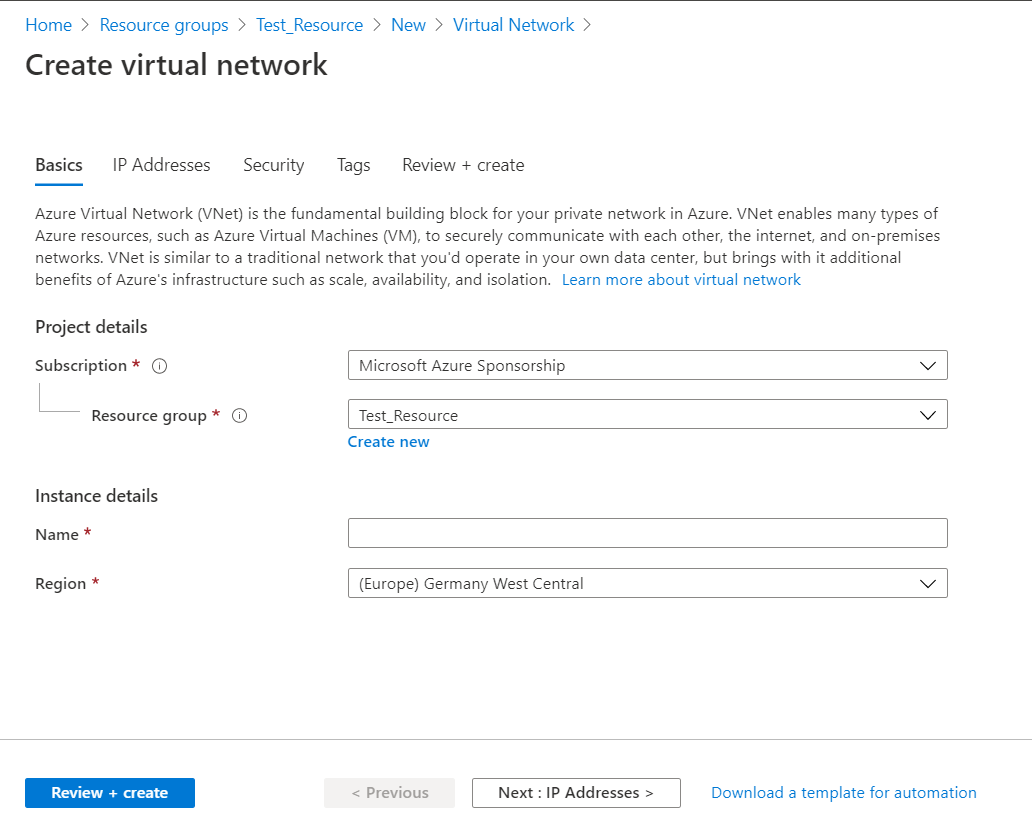
- Specify the virtual network name, select region, then click Next: IP addresses.
- Specify IP addresses for the new virtual network. Add subnet if needed.
- Once you are done with ID address and subnet settings, click Next: Security.
- Specify security options. To learn about security settings, use the tooltips beside the settings.
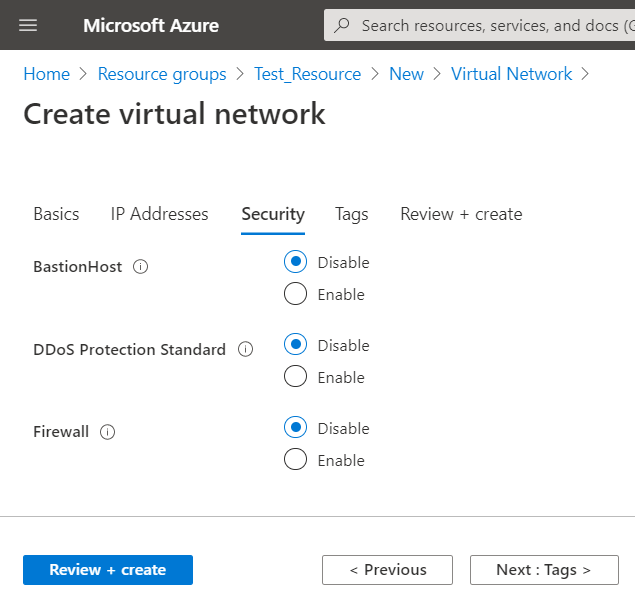
- Once you are done, click Review&Create.
Create a Network Security Group
For security reasons, it is strongly recommended to create a Network Security Group and associate it with a Subnet. You can allow incoming connections for TCP ports like 22 or 3389 in the Inbound security rules tab
- Open the required Resource Group.
- Click +Add.
- Find Network Security Group, select it then Create.
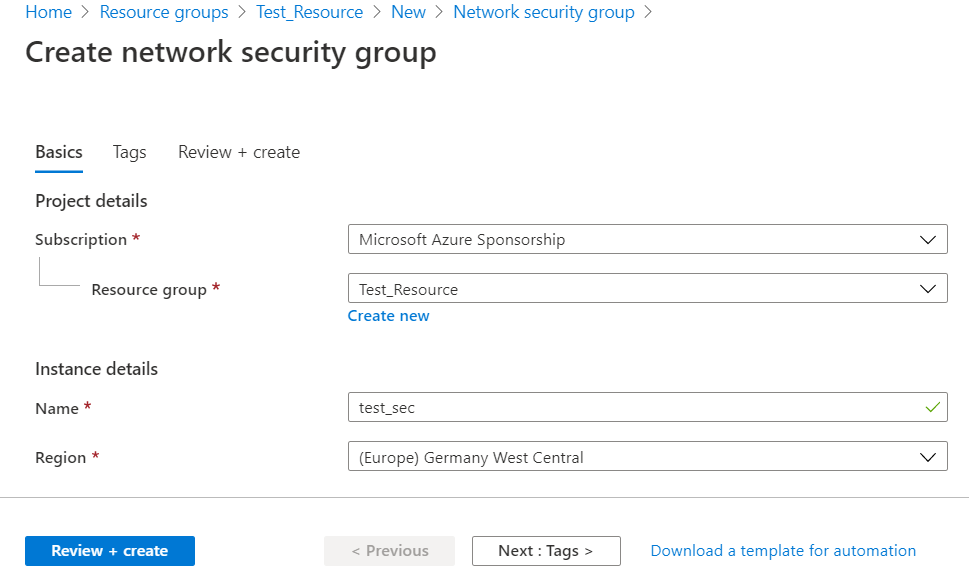
- Specify the required Network Security Group settings, then click Create.
- Open the created Network Security Group, then navigate to Inbound Security Rules which is part of the Settings group.
- To add a new security rule, click +Add.
- Click Basic.
- In the Port ranges, specify 443 and name, for example as https.
- Click Add to add a new security rule.
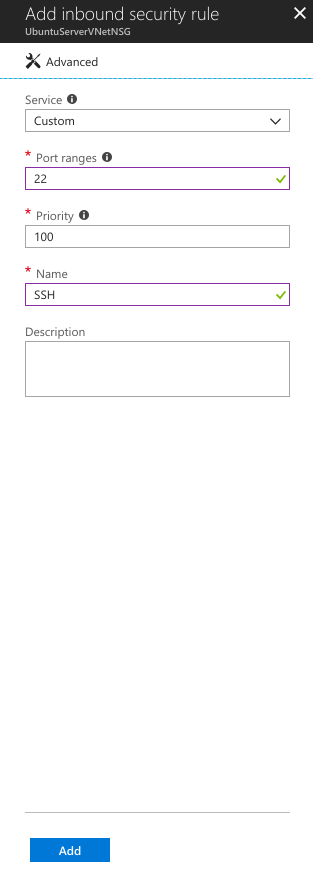
Add as many inbound security rules as you need to allow access to services hosted on the VM.
Note that the following outgoing connections (IP addresses and ports) associated with the mspbackups.com portal must be allowed:
3.216.171.162:443
3.216.236.203:443
52.5.40.159:443
52.6.7.137:443
52.20.40.101:443
Make sure you allow access to all required ports
Associate Network Security Group With a Subnet
Once all required rules are added, associate the Network Security Group with the previously created subnet.
- Click Subnets in the Settings group.
- Click Associate. Select the required virtual network and the required subnet, then click OK.
Enable Serial Console
For testing or troubleshooting purposes, it is recommended to enable Serial Console in your Linux or Windows Machine. Then you will be able to configure and troubleshoot your Azure VM in the Azure Portal command line.
To learn more, follow the links below:
- For Windows VMs: Virtual Machine Serial Console
- For Linux VMs: Accessing serial console for Linux
Possible Issues
Deployment Error
If you deploy a template that creates resources that exceed your Azure quotas, you get a deployment error that looks as follows:
Code=OperationNotAllowed
Message=Operation results in exceeding quota limits of Core.
Maximum allowed: 4, Current in use: 4, Additional requested: 2.
Code=ResourceQuotaExceeded
Message=Creating the resource of type <resource-type> would exceed the quota of <number>
resources of type <resource-type> per resource group. The current resource count is <number>,
please delete some resources of this type before creating a new one.
Quotas are applied per resource group, subscriptions, accounts, and other scopes. For example, your subscription may be configured to limit the number of cores for a region. If you attempt to deploy a virtual machine with more cores than the specified limit, you receive an error stating the quota has been exceeded.
To solve this issue, figure out your virtual machine quotas first. For Azure CLI, use the az vm list-usage command.
Example:
az vm list-usage --location "South Central US"
For PowerShell, use the Get-AzVMUsage command to find virtual machine quotas.
Example:
Get-AzVMUsage -Location "South Central US"
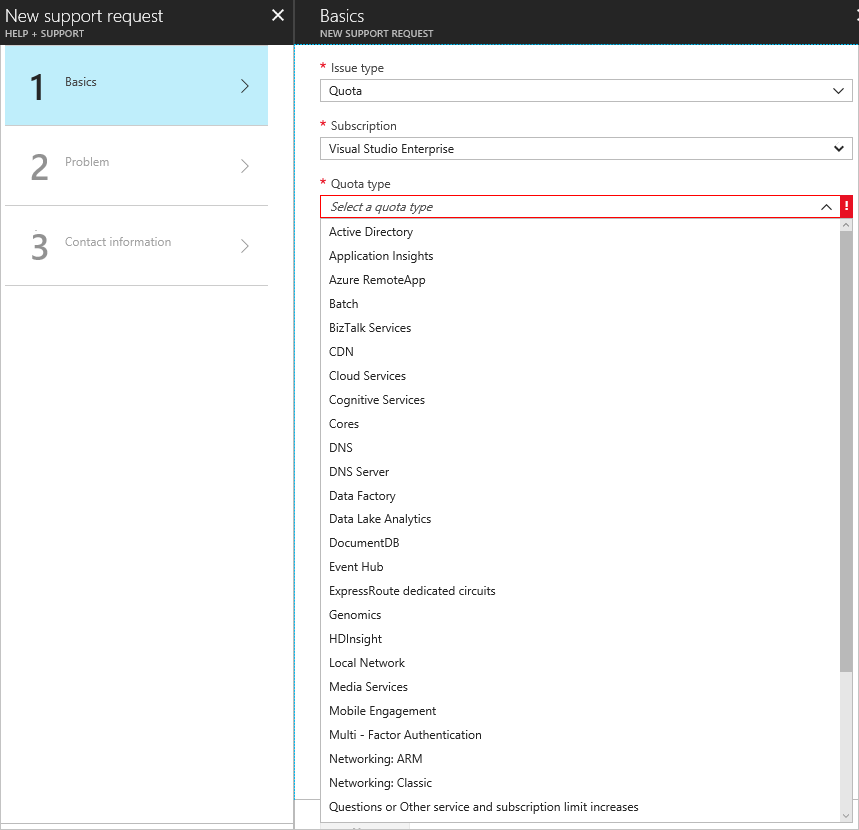
In case quotas are not sufficient, you may request a quota increase.
To request a quota increase, go to the portal and file a support issue. In the support issue, request an increase in your quota for the region into which you want to deploy.
Remember that for resource groups, the quota is for each individual region, not for the entire subscription. If you need to deploy 30 cores in West US, you have to ask for 30 Resource Manager cores in West US. If you need to deploy 30 cores in any of the regions to which you have access, you should ask for 30 Resource Manager cores in all regions
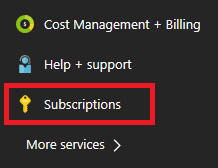
- Select Subscriptions.
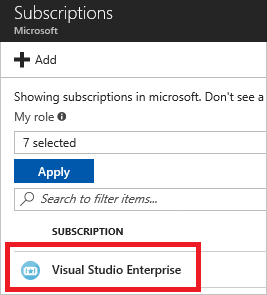
- Select the subscription that needs an increased quota.
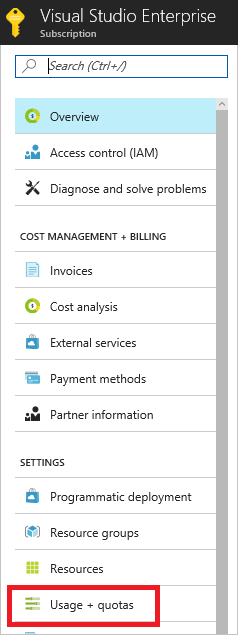
- Select Usage + quotas.
- In the upper right corner, select Request increase.
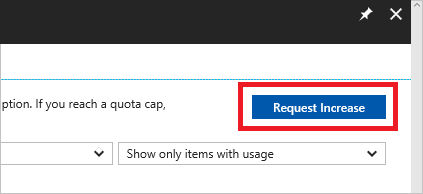
- Fill in the forms for the type of quota you need to increase.
SKU Is Not Available
When deploying a resource (typically a virtual machine), you receive the following error code and error message:
Code: SkuNotAvailable
Message: The requested tier for resource '<resource>' is currently not available in location '<location>'
for subscription '<subscriptionID>'. Please try another tier or deploy to a different location.
You receive this error when the resource SKU you've selected (such as VM size) isn't available for the location you've selected.
If you are deploying an Azure Spot VM or Spot scale set instance, there isn't any capacity for Azure Spot in this location.
To solve this issue, refer to the Resolve errors for SKU not available article at docs.microsoft.com.
Tech questions: tech@msp360.com
Sales questions: sales@msp360.com